
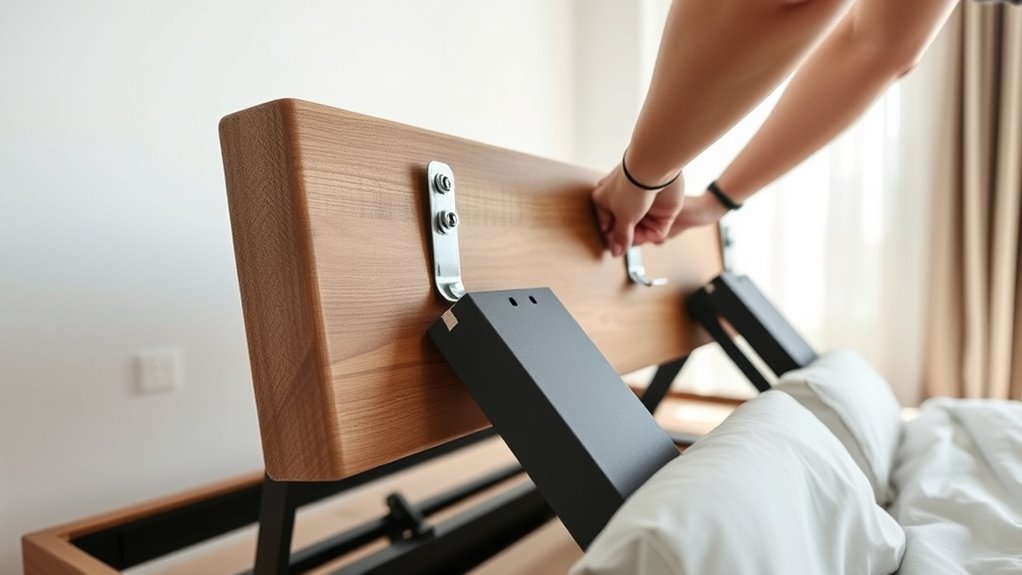
How Do You Attach a Headboard to an Adjustable Bed?
To attach a headboard to your adjustable bed, first check if your frame supports mounting. Look for pre-drilled holes or slots that will make the process easier.
Gather your tools like a drill, wrench, and level before you start. These will help you get the job done right without any hassle.
Next, align the headboard brackets with the frame. Make sure to leave about a 1½ to 2-inch gap to allow for bed movement. This step is super important to keep everything working smoothly.
Secure the bolts evenly, and use washers and locking plates for extra stability. This will help prevent any wobbling or loosening over time.
Don’t forget to regularly check the tightness of all bolts after installation.
If you want to guarantee lasting stability and explore other mounting options, there’s more to contemplate. But this method is a solid place to start!
Key Takeaways
- Check the adjustable bed frame for pre-drilled holes or slots designed for headboard mounting and confirm model compatibility. This step helps make sure everything fits just right.
- Gather necessary tools and hardware, including bolts, washers, a drill, and a level, before starting the installation. Having everything ready will save you time and hassle.
- Align the headboard brackets with frame holes, maintaining a 1½–2 inch gap to avoid interfering with bed movement. This gap is important so your bed can adjust smoothly without any bumps.
- Secure bolts evenly, tighten to recommended torque, and use washers or locking plates to ensure stability and prevent wobbling. Taking your time here means your headboard will stay put.
- Perform regular maintenance by checking fasteners, alignment, and clearance to keep the headboard securely attached over time. A little upkeep now and then goes a long way!
Checking Adjustable Bed Frame Compatibility for Headboard Brackets
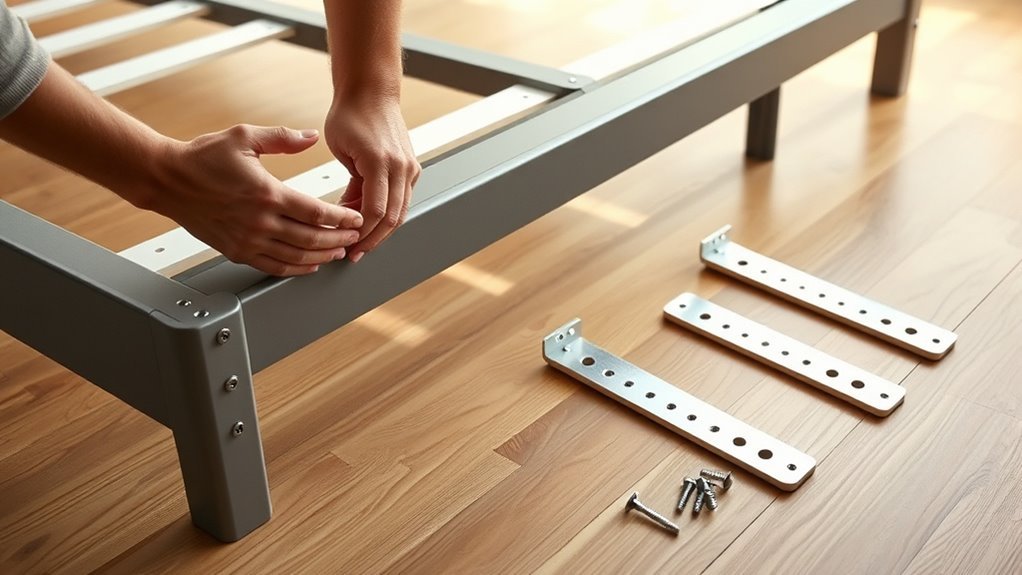
Before attaching a headboard, you’ll need to check if your adjustable bed frame supports headboard brackets. Not all adjustable bed frames offer compatibility with headboard brackets, so start by inspecting your bed frame for pre-installed holes or slots designed for mounting. These pre-installed holes make attaching a headboard much easier.
Consult the bed frame specifications or manufacturer’s guidelines to confirm if your model supports headboard attachment. Measure the distance between existing mounting points to ensure they align with your headboard’s brackets.
Also, determine if your bed frame requires additional hardware or custom modifications to secure the headboard properly. Verifying these details upfront saves you time and frustration, guaranteeing your adjustable bed frame can accommodate the headboard brackets you plan to use.
Essential Tools and Materials for Installing Headboard Brackets
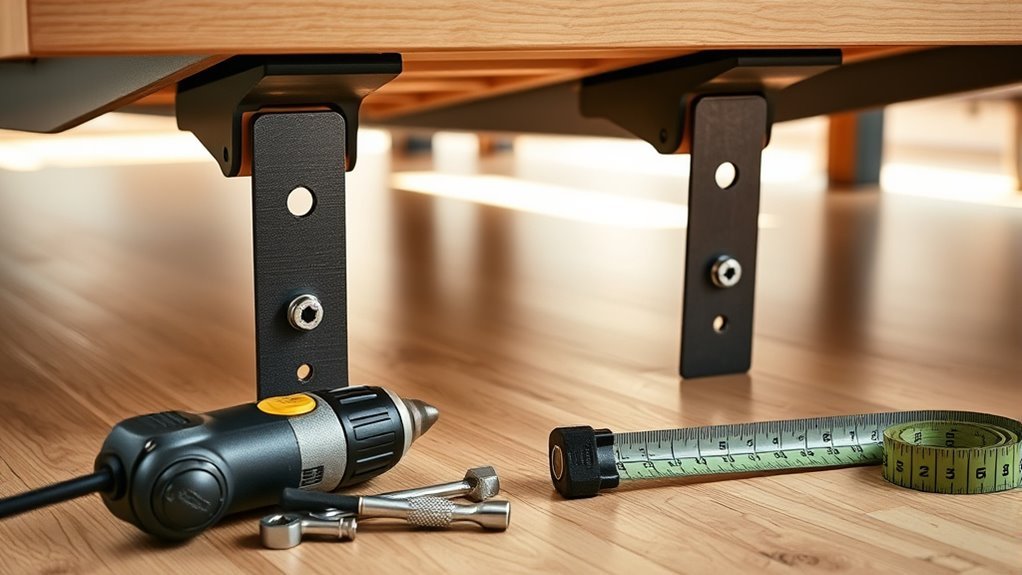
Once you’ve confirmed your adjustable bed frame supports headboard brackets, gather the right tools and materials to guarantee a smooth installation. Essential tools include a drill, adjustable wrench, and a Phillips or flat-head screwdriver. You’ll also want a level, measuring tape, and a torque screwdriver to tighten fasteners securely.
For hardware, you’ll need bolts, washers, locking plates, and screws compatible with your brackets and frame. Use clamps or enlist a helper to steady the headboard during measuring and alignment. This helps ensure precise placement.
A rubber mallet can gently tap mounting plates into position without damaging surfaces. To protect the bed frame’s finish, lay down cloths or padding before you start. Having these tools and hardware ready will make your headboard bracket installation efficient and stable.
How to Attach Your Headboard Brackets Step by Step
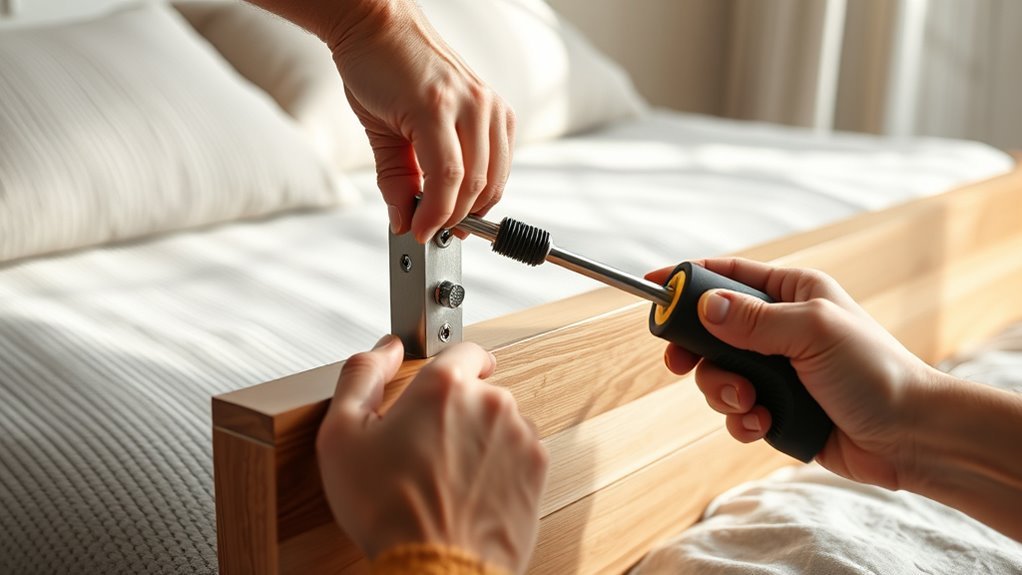
Although attaching headboard brackets may seem straightforward, gathering all necessary tools and hardware first guarantees a smoother process.
Preparing all tools and hardware beforehand ensures attaching headboard brackets goes smoothly and efficiently.
To attach your headboard brackets step by step, follow these instructions:
- Align the headboard’s pre-drilled holes with the brackets on the adjustable bed frame. Make sure there’s a 1½ to 2-inch gap for movement, so everything fits just right.
- Secure the headboard brackets by inserting the provided bolts and nuts through the aligned holes. Use a wrench or screwdriver to tighten them evenly, which helps prevent any wobble.
- Test the connection by moving the bed through different positions. This way, you can confirm the headboard stays firmly attached and won’t shift around.
Tips to Keep Your Headboard Stable and Clear
To keep your headboard stable, make sure your brackets are securely installed using washers and locking plates. Prevent any unwanted movement by regularly checking and tightening bolts to the correct torque.
You’ll also want to maintain proper clearance so the bed functions smoothly without the headboard getting in the way. This way, everything stays in place and works just right.
Secure Bracket Installation
When you attach your headboard using adjustable brackets, make sure to tighten them to the recommended torque to keep everything secure during bed movement. Proper bracket installation ensures your headboard stays stable and clear of interference.
Follow these steps to achieve secure installation:
- Evenly tighten all bolts with washers to distribute pressure. This helps prevent stripping and wobbling.
- Leave a 1½ to 2-inch gap between the headboard and bed frame. This allows for smooth adjustments.
- Use locking plates or stabilizers to secure bolts against vibrations. This helps maintain stability.
Regularly check and retighten bolts to uphold secure bracket installation. This approach guarantees your headboard remains firm and aligned.
It provides lasting support and safety with your adjustable bed.
Prevent Headboard Movement
How can you keep your headboard from shifting or wobbling as your adjustable bed moves? To prevent headboard movement, first secure the headboard firmly by using bolts and washers tightened to a consistent torque of about 10 Nm. This evenly distributes pressure and reduces wobbling.
Install locking plates or clamps on the mounting brackets to lock them in place and minimize shifts during adjustments. Make sure the headboard is level and aligned correctly with the bed frame to avoid uneven stresses that cause instability.
Also, leave a 1½–2 inch gap between the headboard and frame, allowing movement without forcing shifts or damage. And don’t forget to regularly check all fasteners for looseness to maintain stability and keep your headboard steady over time.
Maintain Bed Functionality
Although adjustable beds offer great flexibility, keeping your headboard stable and unobstructed is essential for smooth operation.
To maintain bed functionality with your adjustable headboard, follow these key tips:
- Leave a 1½ to 2-inch gap between the headboard and bed frame to avoid interference with bed movement.
- Use proper mounting brackets and tighten bolts securely to guarantee stability during adjustments.
- Regularly check the hardware, retighten bolts, and confirm the headboard’s alignment to prevent wobbling or shifting.
Doing these simple things will help your bed work smoothly and last longer. It’s worth the little effort!
Alternative Headboard Mounting Options for Adjustable Beds
If you’re looking for alternatives to attaching a headboard directly to your adjustable bed, consider wall-mounted or freestanding options. Wall-mounted headboards stay fixed to the wall, so they won’t interfere with your bed’s movement.
Freestanding headboards simply sit between the bed and wall, giving you flexibility without any installation. It’s a simple solution that doesn’t require any tools or drilling. Plus, you can easily move it around if you want to switch things up.
Wall-Mounted Headboards
Why choose a wall-mounted headboard for your adjustable bed? Wall-mounted headboards avoid interfering with your bed’s motorized movement, offering a sleek, stable design.
To mount one securely, follow these steps:
- Use a stud finder to locate wall studs and draw a level line at your desired headboard height.
- Attach mounting brackets to the wall studs with heavy-duty hardware, ensuring they’re secure and can support the headboard’s weight.
- Hang the headboard on the brackets, double-checking it’s level and positioned comfortably, typically aligning with the mattress top.
Wall-mounted headboards provide a versatile, sturdy option that keeps your adjustable bed’s mechanism free and functional. So, you get both style and practicality without any hassle.
Freestanding Headboard Options
When your adjustable bed frame doesn’t have mounting brackets or wall installation isn’t an option, a freestanding headboard offers a practical alternative. This type of headboard sits between the bed and wall, providing stability without using hardware attached to the frame.
Look for a freestanding headboard with a wide, sturdy base to prevent tipping during adjustments. You’ll find various materials, including wood, metal, and upholstered options, allowing you to match your bedroom style easily.
| Feature | Details |
|---|---|
| Mounting | No hardware needed |
| Stability | Wide base prevents shifting |
| Compatibility | Works with adjustable beds |
| Materials | Wood, metal, upholstered |
Freestanding headboards deliver both style and stability without altering your adjustable bed’s base. They’re a simple solution that looks great and works well.
How to Maintain and Adjust Your Headboard Over Time
Although attaching your headboard is just the first step, maintaining and adjusting it over time guarantees lasting stability and appearance.
Attaching your headboard is only the beginning; ongoing maintenance ensures it stays stable and looks great.
To keep your headboard securely attached to your adjustable bed, follow these essential maintenance tips:
- Check and tighten the bolts every month using a torque wrench set to the manufacturer’s recommended torque (about 10 Nm). This helps ensure hardware stability.
- Use a level during maintenance to verify the headboard’s alignment and keep it perfectly straight.
- Measure the clearance between the headboard and mattress quarterly. Try to maintain 1½ to 2 inches for smooth bed movement.
Also, regularly inspect parts for damage and apply light silicone spray twice a year to the rails.
This ongoing care really helps preserve your adjustable bed’s function and keeps your headboard securely fitted.
Troubleshooting Common Headboard Installation Issues
Keeping your headboard properly maintained helps prevent many installation issues, but sometimes problems still arise.
If you notice wobbling or instability, first check the fasteners and hardware. Loose bolts or improperly tightened screws are often the culprit.
Use a torque screwdriver and washers to verify even tightening, which adds reinforcement and reduces movement. If wobbling persists, consider adding locking plates or extra washers to further secure the headboard.
Also, inspect the mounting brackets and rails for any damage or bending. Damaged parts may need replacement to restore stability.
Regularly tightening bolts and inspecting hardware will help you avoid common problems and keep your headboard firmly attached to your adjustable bed.
Frequently Asked Questions
Can You Attach Any Headboard to an Adjustable Bed?
You can’t attach just any headboard to an adjustable bed. You’ll need to check if it’s compatible, fits the frame, and supports mounting brackets.
If it doesn’t, no worries! You might want to consider wall-mounted or floating headboards instead. They work great and give you more flexibility.
What Kit Can I Use to Attach a Headboard to an Adjustable Bed Frame?
You can use the TOPTGO Headboard Bracket Kit to attach a headboard to your adjustable bed frame. It’s compatible with multiple bed sizes and includes all the hardware and tools you’ll need for a secure, stable fit.
This kit makes the whole process pretty straightforward. Plus, it ensures your headboard stays firmly in place, no matter how you adjust your bed.
What Type of Headboard Works With an Adjustable Base?
You want panel headboards, upholstered headboards, or wall-mounted headboards, all designed for flexibility, compatibility, and motion. Avoid bulky, fixed styles.
Choose ones with built-in brackets or use universal mounts for smooth, secure attachment. That way, your headboard stays put even when your adjustable base moves around.
How to Secure a Freestanding Headboard?
You secure a freestanding headboard by placing it firmly between the bed and wall. Adding non-slip pads underneath helps keep it in place.
To prevent wobbling or sliding during use, you can anchor it to the wall with brackets or straps. This makes sure your headboard stays steady and secure.
Conclusion
Attaching a headboard to your adjustable bed doesn’t have to be tricky. Did you know over 60% of adjustable bed owners struggle with headboard compatibility? By checking your frame and using the right tools, you’ll secure a stable, stylish headboard in no time.
Remember to keep adjustments easy and troubleshoot common issues early. This way, you avoid frustration and ensure everything fits just right. With these simple steps, your bed will look great and stay functional for years to come.
In conclusion, attaching a headboard to an adjustable bed is all about knowing your frame’s setup and choosing the proper hardware. Taking the time to troubleshoot any problems early ensures a smooth installation. By following these tips, your adjustable bed will not only be comfortable but also stylish with a securely attached headboard that lasts.