How Do You Install Carpet Over Tile Step by Step?
To install carpet over tile, start by thoroughly cleaning and repairing your tile floor. This step ensures the surface is flat and stable, which is crucial for a successful carpet installation. You want to avoid bumps or loose tiles because they can cause issues later on.
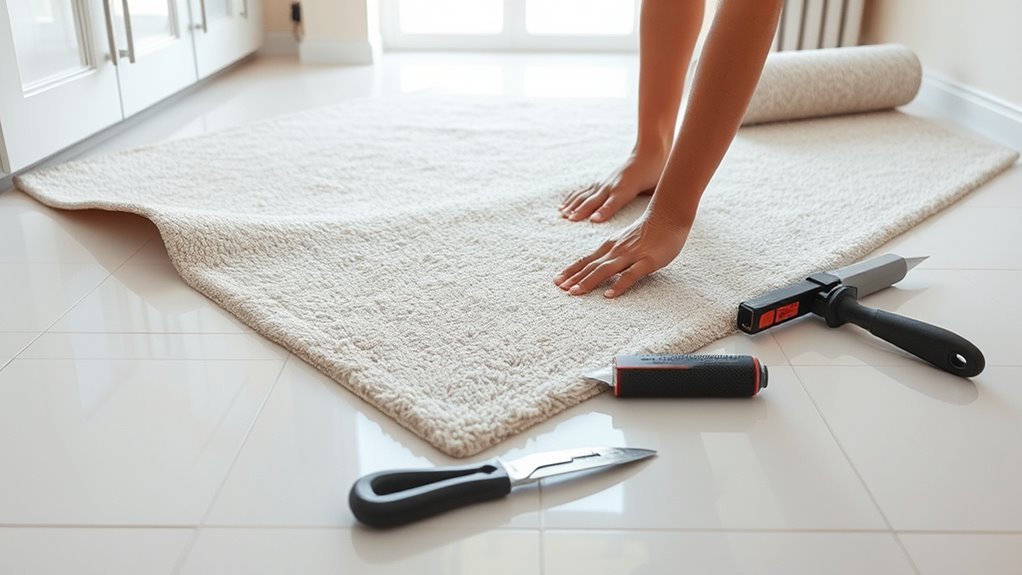
Next, gather all your tools like tack strips, adhesive, and a carpet stretcher. Choosing the right materials is just as important as prep work.
For comfort and durability, pick a thick underlay to cushion your feet and a dense carpet that can hide any tile imperfections underneath.
Once everything is ready, secure the tack strips around the room’s perimeter. Then stretch the carpet tightly over the tile to prevent wrinkles or bubbles.
Finally, trim the excess carpet and seal the edges neatly. With proper preparation and technique, you’ll achieve a smooth, lasting finish. Keep going, and you’ll master each step with confidence!
Key Takeaways
- Thoroughly clean and repair the tile surface. Make sure it’s flat, stable, and free of dust, grease, and any damage before you start the installation.
- Gather all the necessary tools, adhesive, and a thick underlay that’s at least 10mm. Choose a dense pile carpet too, as it’s great for covering up any tile imperfections.
- Install tack strips about 1-2 inches from the walls. Leave a 3/8 inch gap from the tile, and double-check that they’re level and securely fastened.
- Stretch the carpet tightly over the tile using a power stretcher and knee kicker. Trim off any excess, then secure the edges with a seamer or seam roller.
- Finish up by tucking the edges firmly and removing any wrinkles. Keep up with regular maintenance to make sure your carpet stays durable and looking great.
Inspect and Prepare Your Tile Surface
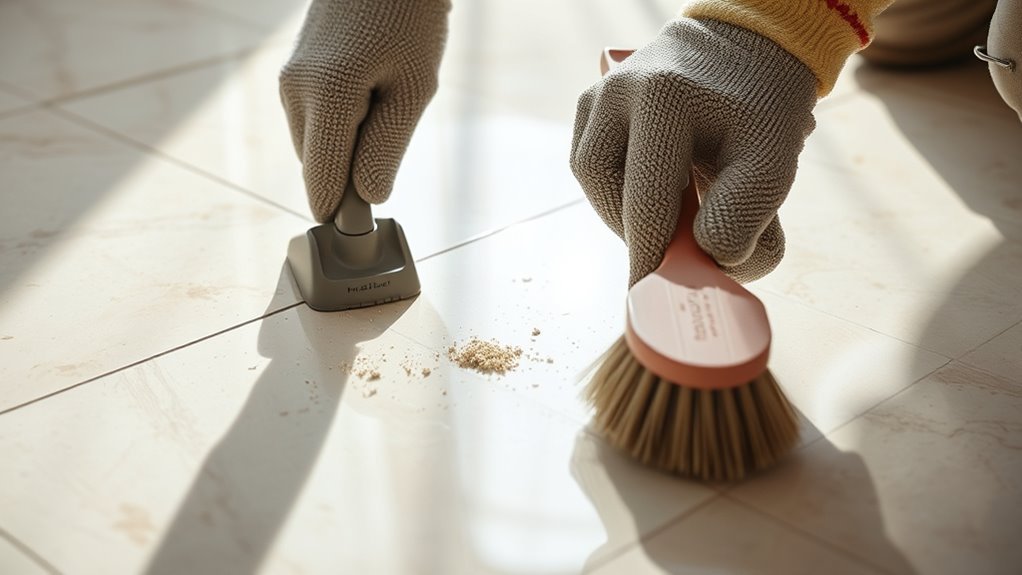
Before you install carpet over tile, you need to thoroughly inspect and prepare the surface. Start by cleaning the tile surface to remove all dust, dirt, and debris. This will help ensure the carpet adhesive bonds well.
Thoroughly clean tile surfaces to remove dust and debris for better carpet adhesive bonding.
Next, carefully inspect the tile for any cracks, chips, or uneven areas. If you find damaged tiles, go ahead and repair or replace them before moving forward.
Check the grout lines too; they should be solid and intact. Loose grout can compromise the carpet’s stability, so it’s important to make sure it’s in good shape.
Finally, make sure the tile surface is flat and level. If you notice bumps or dips, use a leveling compound to even out the floor. Taking these steps will create a smooth, stable base for your carpet installation.
Clean and Repair the Tile
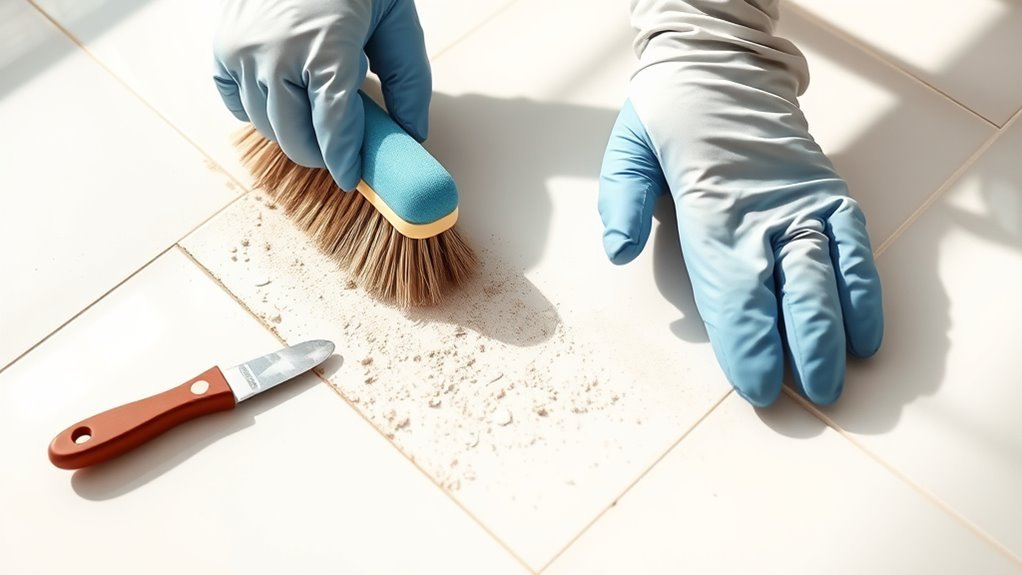
Once you’ve inspected the tile, thoroughly sweep and vacuum the surface to remove all dust and debris.
Next, focus on cleaning and repairing the tile to create a level, stable base for your carpet. Here’s what you need to do:
- Clean the tile surface with a damp cloth or mop to remove grease, stains, and residues.
- Inspect for cracks, chips, or loose tiles and repair or replace them to guarantee stability.
- Use a leveling compound or patching filler to smooth uneven areas or cracks.
- Allow all cleaned and repaired areas to dry completely before moving on.
Taking these steps will make sure your tile is ready and solid for the carpet installation. It’s worth spending the time to get it right!
Gather Your Tools and Materials
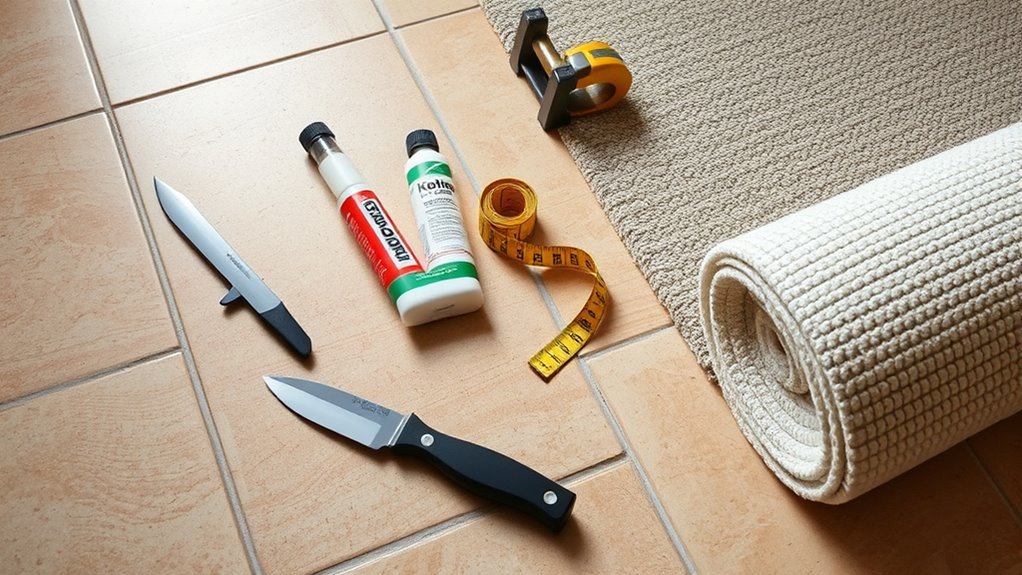
Before you start, make sure you have all the essential tools like a utility knife, measuring tape, and adhesive ready.
Pick a thick or plush carpet and an underlay that suits your tile surface for the best results. It really makes a difference!
Don’t forget safety gear like gloves and knee pads to protect yourself during installation. Safety first, right?
Essential Tools Checklist
Although installing carpet over tile might seem straightforward, having the right tools and materials will make the process much smoother. It also guarantees a professional finish.
Proper preparation really sets the stage for a flawless installation. So, start by gathering essential tools for accurate measurements and precise cutting.
Here’s your essential tools checklist:
- Utility knife, seam cutter, and measuring tape for precise cutting and measurements.
- High-quality rug adhesive with a notched trowel or roller to ensure strong bonding.
- Rubber mallet to firmly press and secure the carpet without damage.
- Cleaning supplies like a broom and vacuum for thorough tile surface preparation.
With these tools ready, you’ll streamline the installation and achieve a neat, durable carpet overlay. It’s all about working smarter, not harder!
Required Installation Materials
Since a successful carpet installation depends on proper materials, you’ll need high-quality carpet adhesive, a durable underlay like a 10mm foam pad, and essential tools such as a utility knife, carpet stretcher, and seam roller.
Start by gathering a sturdy underlay to provide cushioning and support over the tile. Use a measuring tape to get precise dimensions and a straight edge or chalk line for marking cuts.
A utility knife will help you trim the carpet and underlay cleanly. Don’t forget carpet adhesive to securely bond the carpet to the tile surface.
Before installation, clean the tiles thoroughly and repair any cracks with patching compound and a trowel. With these tools and materials ready, you’ll guarantee a smooth, long-lasting carpet installation.
Select Carpet and Underlay Suitable for Tile Floors
How do you choose the right carpet and underlay for installing over tile floors? Start by focusing on comfort and durability to mask tile imperfections.
Here’s how to select the best options:
- Choose a thick, plush carpet like wool or high-quality synthetic to improve comfort and hide tile unevenness.
- Pick an underlay at least 10mm thick to cushion and support over the hard tile surface.
- Opt for dense pile carpets with twist fibers to reduce visible tile flaws.
- Confirm the underlay matches the carpet material for better support and noise reduction.
Set Up Tack Strips and Position Your Carpet
Before laying down your carpet, you’ll need to set up tack strips along the edges where the carpet will meet the tile. Position tack strips about 1 to 2 inches from the wall or connection point. Make certain they’re close enough to secure the carpet firmly.
Use a measuring tape for consistent spacing and check that each tack strip is level and securely anchored into the subfloor or existing flooring. Maintain a gap of roughly 3/8 inch between the tack strip and tile surface to allow proper carpet stretching later.
Adjust the positioning around doorways or transition strips so the carpet edges lay smoothly. Properly installing tack strips ensures your carpet will stay in place and create a clean, professional finish where carpet meets tile.
Stretch and Secure the Carpet Over the Tile
Once you’ve positioned the tack strips, use a power stretcher to pull the carpet tightly over the tile. This helps ensure a smooth, wrinkle-free surface.
After placing tack strips, pull the carpet tightly with a power stretcher for a smooth, wrinkle-free finish.
To stretch and secure the carpet effectively, follow these steps:
- Use the power stretcher to stretch the carpet evenly. Make sure to avoid slack between the tile and tack strip.
- Press the carpet firmly onto the tack strip. Align it precisely with the tile edge for a secure fit.
- Fold back carpet sections to apply adhesive or add staples near edges. This gives extra hold where it’s needed.
- Smooth the carpet with a knee kicker or hand tool. This ensures it’s firmly anchored and evenly stretched.
This method guarantees a tight, secure carpet installation over tile without wrinkles or loose spots. Easy, right?
Trim and Finish Carpet Edges Over Tile
Now that your carpet is stretched and secured, it’s time to trim and finish the edges over the tile. Use a sharp utility knife to carefully cut excess carpet.
Then, tuck and secure the perimeter with adhesive or a sealer. This helps keep everything in place.
Finally, press the edges smooth and trim any loose fibers. This will give you a clean, professional look.
Edge Trimming Techniques
When trimming carpet edges over tile, you’ll want to use a utility knife or razor to carefully cut the excess. Leave about an eighth of an inch overlapping the tile for a clean finish.
This carpet overlap ensures a neat finish and prevents fraying. Follow these edge trimming techniques:
- Fold the trimmed edge under the tack strip or along the wall to secure it neatly.
- Apply seam adhesive or double-sided tape along the edge for added durability.
- Use a carpet seamer or edging tool to smooth and press the carpet edge firmly.
- Press down the edge to eliminate wrinkles, creating a polished look.
Professional installers rely on these steps to achieve a seamless, long-lasting carpet edge over tile. It really makes a difference!
Securing Carpet Perimeter
How do you guarantee your carpet edges stay secure and look professional over tile? Start by trimming the carpet edges about 1/8 inch past the tile using a utility knife for a clean tuck.
Next, fold back the excess carpet and apply adhesive into the gap between the tack strip and tile. Press and tap the carpet backing into the adhesive with a stair tool or chisel to create a secure bond.
Make certain to stretch the carpet tight over the tack strip to avoid wrinkles and looseness. Finally, smooth the edges and inspect for any gaps or loose spots to achieve a neat perimeter.
This process ensures your carpet edges remain firmly in place and maintain a polished, durable finish over tile.
Final Visual Touches
Where do you start to achieve a flawless carpet edge over tile? Focus on the transition area for a polished finish. Follow these steps:
First, trim the excess carpet neatly with a utility knife. Leave about 1/8 inch overlap for tucking—that little extra makes a big difference.
Next, secure the carpet edges using a carpet seamer or seam roller. This helps keep them flat and smooth, so nothing looks bumpy or uneven.
Then, tuck the carpet firmly into the gap between the tack strip and tile. Press down well to get rid of any wrinkles or bubbles.
Finally, inspect the edge closely for loose fibers or gaps. Make any last adjustments by trimming or smoothing as needed.
These final visual touches ensure a secure, neat transition over your tile. In the end, your carpet installation will look professional and polished.
Maintain and Protect Your Carpet
To keep your carpet looking great and lasting longer, you need to maintain and protect it regularly. Start by vacuuming often to remove dirt and debris that can wear down carpet fibers.
Clean spills immediately using appropriate stain protectors to prevent permanent stains and keep your carpet’s appearance fresh. It really helps to tackle stains right away.
Periodically inspect the seams and edges, securing them as needed to avoid fraying or lifting. When cleaning, avoid excessive moisture to protect both the carpet and the tile underneath from mold and damage.
Finally, schedule professional deep cleaning every 12 to 18 months to preserve your carpet’s softness, color, and overall condition. These steps will help you maintain and protect your carpet effectively for years to come.
Frequently Asked Questions
Can You Carpet Directly Over Tile?
Yes, you can carpet directly over tile if the surface is clean, flat, and damage-free. You’ll want to repair any cracks and remove debris first.
Using the right underlay and adhesive is important too. This helps create a smooth, durable finish that will last well.
What Is the Best Way to Transition From Carpet to Tile?
To nail the perfect carpet-to-tile connection, use a multipurpose trim strip and stretch the carpet tightly over tack strips.
Cut the carpet slightly over the tile edge and apply adhesive to keep everything in place and looking sharp.
This way, the transition looks clean and stays secure for the long haul.
How Do You Lay Carpet Over Tiles?
You clean the tile thoroughly, then spread adhesive evenly. Roll out the carpet, smoothing wrinkles as you go.
Trim excess edges and secure them with tack strips or glue. Add a non-slip pad for stability if needed.
It’s pretty straightforward once you get the hang of it! Just take your time to make sure everything lays flat and stays put.
Do I Need a Transition From Tile to Carpet?
Measure the height difference—if it’s over ¼ inch, you’ll need a changeover strip. Don’t cut corners; it prevents tripping and protects edges.
A smooth surface glued well might not need one, but it’s safer to use. Better safe than sorry, right?
Conclusion
Installing carpet over tile is like laying a cozy blanket over a hard surface—it transforms your room instantly. Just like a warm hug, the right prep and tools make all the difference.
Remember, a study found that homes with well-installed carpets feel 30% more comfortable. So, follow the steps carefully, and you’ll enjoy a soft, inviting floor that feels just right every time you walk in.
With proper installation, carpet over tile not only adds comfort but also enhances the warmth and style of your space. Taking time to prepare the tile surface and using the right materials ensures your carpet stays in place and looks great for years.
You’ve got this! Installing carpet over tile is a smart way to upgrade your flooring without removing the old tile, giving your room a fresh, cozy feel in no time.