How You Can Paint Carpet Step by Step
To paint your carpet, start by choosing a durable, low-pile rug that can handle the paint without damage.
Prepping your workspace is key—make sure you have good ventilation and clean surfaces to work on. This will help your paint job last longer and look better.
Next, gather carpet-friendly paint, painter’s tape, and tools like rollers. Having the right materials makes the process smoother and your design pop.
Create and secure your pattern template before you begin. Carefully tape along the design lines to keep everything neat and precise.
Apply the paint evenly, taking your time to avoid clumps or streaks. Then, let it dry fully—usually about 12 hours—before gently removing the tape.
After your paint has cured, clean the carpet with care. You might also want to add a sealant to protect your design and keep it looking fresh.
Keep going to uncover expert tips for flawless results and make your painted carpet a true statement piece!
Key Takeaways
- Choose a durable, low-pile rug and prepare it by vacuuming. Make sure it’s clean and dry before you start painting.
- Set up a well-ventilated workspace. Protect the surrounding areas, and secure your pattern templates with tape and spacers.
- Apply suitable carpet paint using narrow rollers or brushes. Follow your patterns carefully and allow about 12 hours for the paint to cure.
- Remove the painter’s tape carefully about 30 minutes to 1 hour after painting. This helps you get sharp, clean edges.
- To keep your painted carpet looking great, vacuum gently and clean spills immediately. You can also reapply a sealant from time to time for extra durability.
Choose the Right Rug for Painting
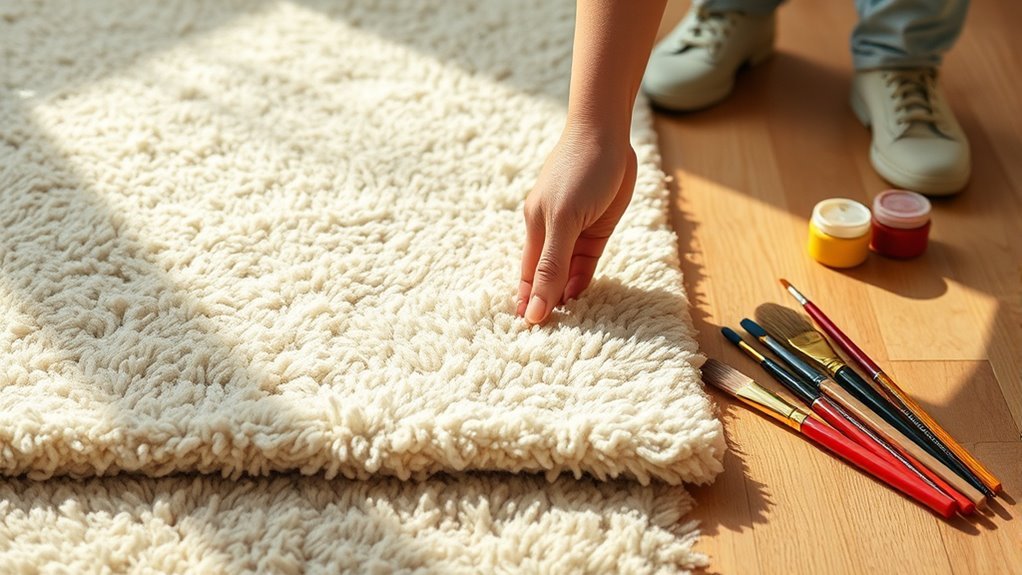
Before you start painting your carpet, make sure you choose a durable rug like Cil Cil, made from natural fibers that can handle the process. You’ll want a rug with a tight, low pile and a smooth surface to avoid paint bleeding or uneven seeping.
Size matters too—pick one that fits your space well, like a 4′ 4″ x 6′ 5″ rug for smaller areas. When planning your design, think about how you’ll work along the edge, especially near skirting boards, since you’ll be going to use paint carefully there to avoid mess.
Also, consider the rug’s base color and pattern to ensure your paint stands out clearly. Choosing the right rug upfront makes painting easier and your final design pop.
Prepare Your Workspace and Rug Surface
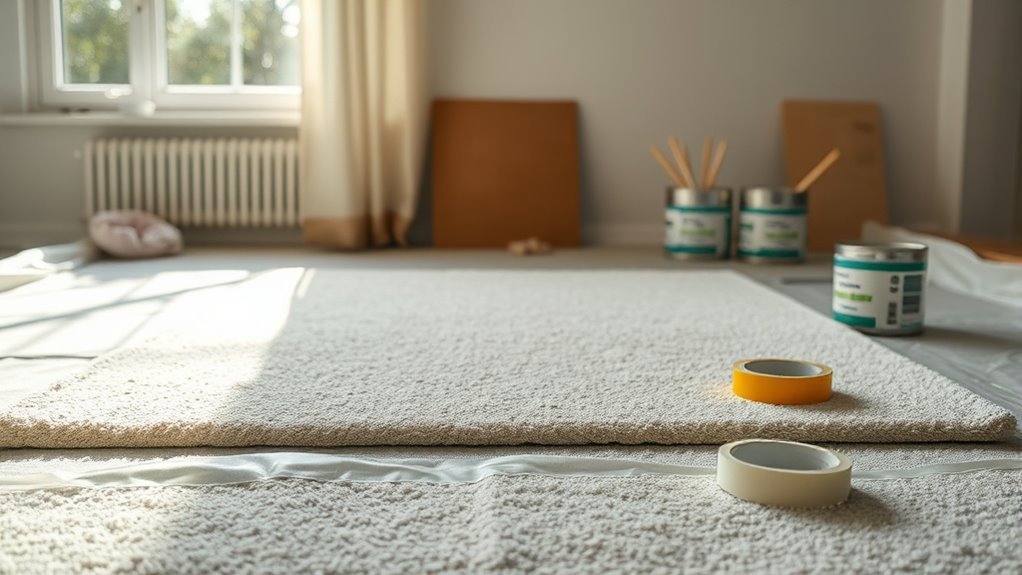
Before you start painting, make sure your workspace is well-ventilated by opening windows or setting up fans. Clear the area and vacuum the rug thoroughly to remove dust and debris.
Taking these steps will help create a clean surface and a safer environment for your project. It’s all about setting yourself up for success!
Workspace Ventilation Setup
While setting up your workspace, make sure you have plenty of fresh air circulating by opening windows and running fans. Proper ventilation is essential to keep fumes from paint and cleaning products from building up and affecting your health.
Position your rug on a flat surface in a well-ventilated area—outdoors or in a garage with open doors works best. Protect nearby furniture with plastic sheeting to avoid accidental splatters.
Don’t forget to wear a mask with a proper filter to safeguard yourself from inhaling harmful fumes. And it’s a good idea to keep a ventilation or exhaust fan running throughout the project to keep the air moving.
- Open windows and use fans to improve airflow
- Place the rug on a stable surface in a ventilated area
- Cover furniture and surfaces with plastic or drop cloths
- Wear a respirator or filtered mask
- Keep a ventilation or exhaust fan running throughout the project
Rug Cleaning Preparation
Once your workspace is properly ventilated and protected, focus on preparing the rug itself. Start by clearing the area around the rug to prevent paint splatters on furniture or flooring.
Next, vacuum the rug thoroughly to remove all loose dirt and debris. This step guarantees a smooth, even surface for painting.
Protect the surrounding areas by laying down drop cloths or plastic sheeting to catch any drips or spills. Apply painter’s tape along the rug’s edges for clean lines and to prevent paint from bleeding onto adjacent surfaces.
Before you begin painting, make sure the rug is completely dry and free of moisture. This will help the paint adhere better and give your project a professional finish.
Gather Your Painting Supplies
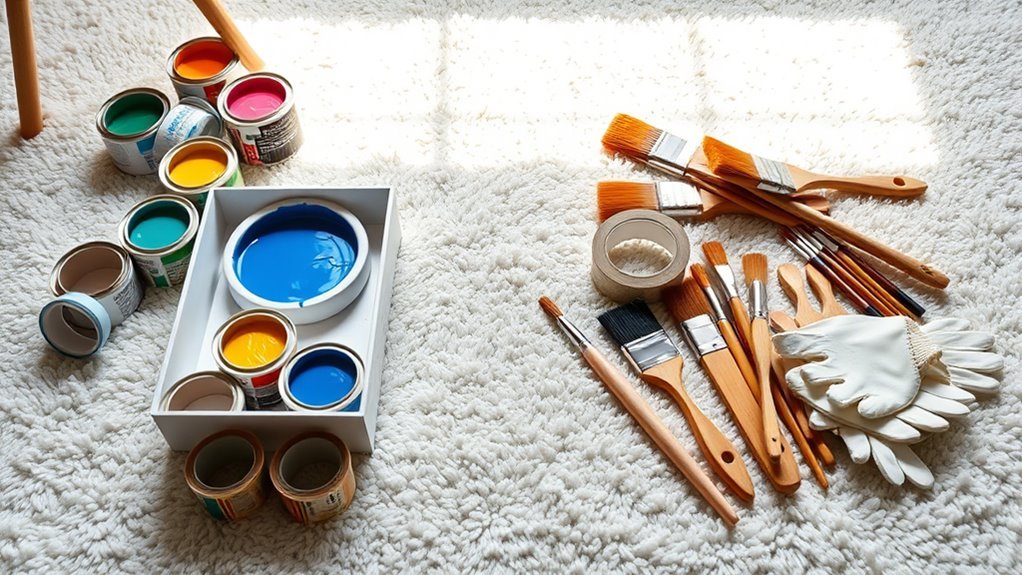
Before you start painting, make sure you have high-quality interior enamel paint, painter’s tape, and a narrow roller designed for textured carpets.
Don’t forget to gather cleaning supplies and personal protective gear to keep your workspace safe and tidy.
Also, open windows or use fans to keep the area well-ventilated while you work.
Essential Paint Materials
To achieve a smooth and lasting finish on your carpet, you’ll need to gather the right materials. Proper paint selection and preparation are key to ensuring the paint adheres well and withstands wear.
Choose high-quality interior enamel or latex paint designed for fabric or carpet surfaces. Along with the paint, prepare essential materials to make the process efficient and safe.
Here’s what you’ll need:
- High-quality interior enamel or latex paint suitable for carpets
- Painter’s tape for clean edges
- Protective gloves, masks, and eye protection
- Disposable palettes or small paint pans for easy paint access
- Cleaning supplies like rubbing alcohol, vinegar, and soapy water for spot cleaning
Having these materials ready sets you up for success in your carpet painting project. It really makes the whole process smoother and less stressful.
Tools For Painting
Although gathering the right tools might seem straightforward, having the proper painting supplies makes a huge difference when working on your carpet. Start with painter’s tape to mark edges and prevent paint from spreading to unwanted areas.
A narrow roller with a long nap helps apply paint evenly, while a small paint pan keeps your paint accessible and easy to control. Don’t forget protective equipment like gloves, masks, and eye protection to shield yourself from fumes and splatters.
Prepare templates and spacers for clean, precise patterns, and use a plastic putty knife to remove any dried paint mistakes. Before you begin, clean and test your tools to guarantee smooth application and easier cleanup later on.
Preparing The Workspace
Once you’ve gathered all your painting supplies, it’s essential to prepare your workspace properly. This guarantees you can work efficiently and safely without interruptions.
Start by clearing the area of furniture and covering nearby surfaces with drop cloths to protect against paint splatters. Organize your tools and supplies within easy reach so you won’t waste time searching for them.
Don’t forget to ventilate the room well by opening windows and doors to let fumes escape. Lastly, equip yourself with protective gear like gloves, masks, and eye protection to stay safe throughout the process.
- Remove furniture and clear the workspace
- Cover floors and surrounding areas with drop cloths
- Arrange your painting tools and supplies neatly
- Open windows and doors for proper ventilation
- Wear protective equipment for safety
Set Up and Align Your Pattern Template
Before you start painting, print or create a pattern template that matches your carpet’s design dimensions and tape the pieces together carefully to form a continuous layout.
Next, position the template on the carpet, making sure its key points align with the carpet’s edges and any notable features. Use spacers and tape to align the template precisely along seams and borders, preventing any misplacement.
Mark reference points on both the template and carpet to help keep the pattern consistent as you work. Once aligned, secure the template firmly so it won’t shift during painting.
Taking these careful steps ensures your design will transfer accurately, making the painting process smoother and the final result professional-looking.
Apply Painter’s Tape to Mark the Pattern
To guarantee your painted pattern stays sharp and clean, you’ll need to apply painter’s tape carefully along the design lines you’ve marked on the carpet. This step is essential for defining crisp edges and preventing paint bleed.
Take your time to align the tape exactly with your pattern, pressing down firmly to secure it. Work in sections, smoothing out any bubbles or wrinkles for a tight seal against the carpet fibers.
Once you finish painting and the paint has set, remove the tape slowly to reveal your clean, precise edges.
- Measure and mark the pattern clearly before taping
- Use painter’s tape to outline the design accurately
- Press the tape edges firmly to avoid paint seepage
- Apply tape smoothly, avoiding wrinkles or gaps
- Remove tape carefully after paint dries for sharp edges
Paint the Rug Using Proper Techniques
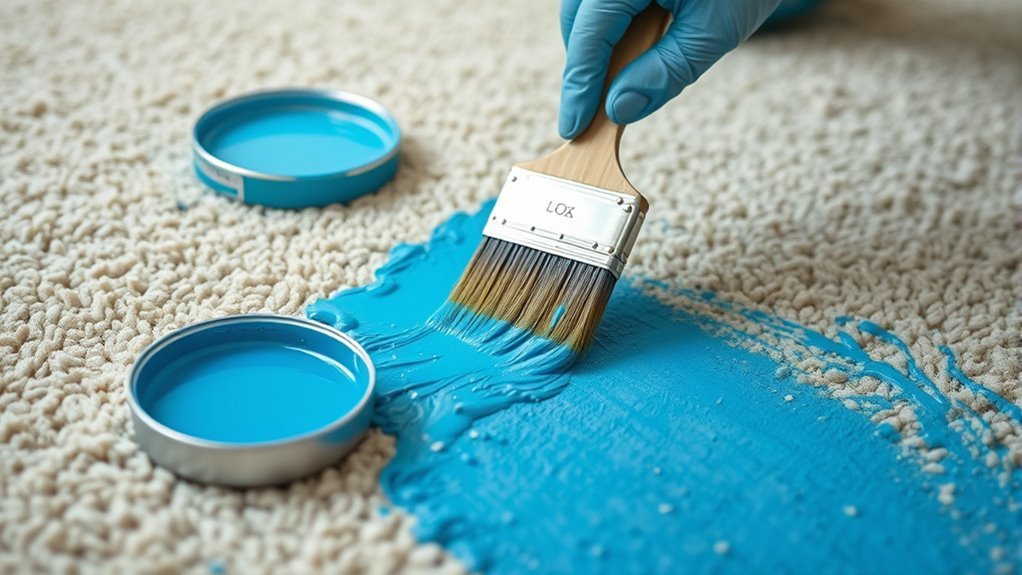
With your painter’s tape securely in place, you can start applying paint to the carpet. Use a high-quality narrow roller with a long nap to evenly cover the textured surface.
Begin painting from the edges marked by the painter’s tape and move toward the center to prevent bleed and jagged lines. This way, you’ll get clean, sharp lines every time.
Following these paint techniques guarantees a clean, professional look. After painting, remember the curing time is essential—let the rug cure for about 12 hours before walking on it for a smooth finish.
Let Paint Set, Then Remove Tape Carefully
Although the paint may look dry on the surface, you should wait at least 30 minutes to an hour before removing the tape to avoid smudging. You want to make sure the paint is set enough so it’s not going to come off with the tape.
When using a separate tool or your fingers, peel the tape slowly at a 45-degree angle to protect the edges. Follow these tips for best results:
- Wait 30 minutes to 1 hour before tape removal
- Peel tape back slowly and steadily
- Roll tape into itself from each end
- Use a gentle pull to prevent peeling
- Avoid removing tape too soon; full cure takes about 12 hours
Doing this carefully guarantees clean lines and a professional finish. It really makes all the difference!
Clean and Maintain Your Painted Carpet After Curing
Once the paint has fully cured and you’ve carefully removed the tape, you’ll want to focus on keeping your painted carpet looking fresh. Regular vacuuming removes dust without harming the paint, and cleaning spills immediately with a damp cloth prevents chipping.
Use mild detergent for spot cleaning, but make sure to test it first on a hidden area. Avoid soaking the carpet to protect the paint’s adhesion.
Reapply a clear sealant periodically to maintain vibrancy. Next time, I’m definitely going to follow these steps diligently to keep my design perfect.
| Task | Method | Tips |
|---|---|---|
| Vacuuming | Regular, gentle vacuum | Avoid brush settings that are harsh |
| Spill Cleaning | Damp, soft cloth | Act immediately, no scrubbing |
| Spot Cleaning | Mild detergent & water | Test on small area first |
| Sealant Reapplication | Clear protective topcoat | Apply periodically for durability |
Frequently Asked Questions
How Do I Remove Paint From My Carpet?
You’ll want to blot fresh paint with a cloth soaked in vinegar or rubbing alcohol, avoiding rubbing.
For dried paint, gently scrape it off before treating.
Always test cleaning solutions on a hidden carpet spot first.
Is Carpet Outdated in 2026?
Carpet isn’t a fading sunset in 2026; it’s a sunrise.
You’ll find it thriving with bold colors and eco-friendly materials.
It proves you can still embrace comfort and style without feeling outdated in your home.
Can You Paint Carpet With Fabric Paint?
Yes, you can paint carpet with fabric paint. First, make sure to clean and dampen your carpet.
Then, apply multiple thin coats using a brush or sponge.
Once you’re done, seal it to protect your design and ensure it lasts longer. Easy, right?
Should I Paint or Do Carpet First?
Don’t put the cart before the horse—you should paint the walls first, then install or paint the carpet.
This way, you’ll avoid messes and keep your fresh carpet looking spotless and ready for foot traffic.
Conclusion
Painting your carpet is like giving your floor a fresh new outfit—it transforms the whole room’s vibe. By choosing the right rug and prepping carefully, you set the stage for something truly special.
Follow each step with patience, and you’ll create a personalized masterpiece that stands out. Remember, the key is in the details: steady brush strokes, clean lines, and proper care after painting.
Stick with it, and your carpet will shine like a work of art for years to come. Painting carpet takes time and attention, but the results are worth it. With the right materials and a bit of creativity, you can refresh your space and enjoy a unique, colorful carpet that reflects your style perfectly.